How to Determine the Right Amount of Food for Your Cat
Some cats always seem to be hungry. But how much food does a cat need per day? This article helps you to find out the right amount of food for your cat.
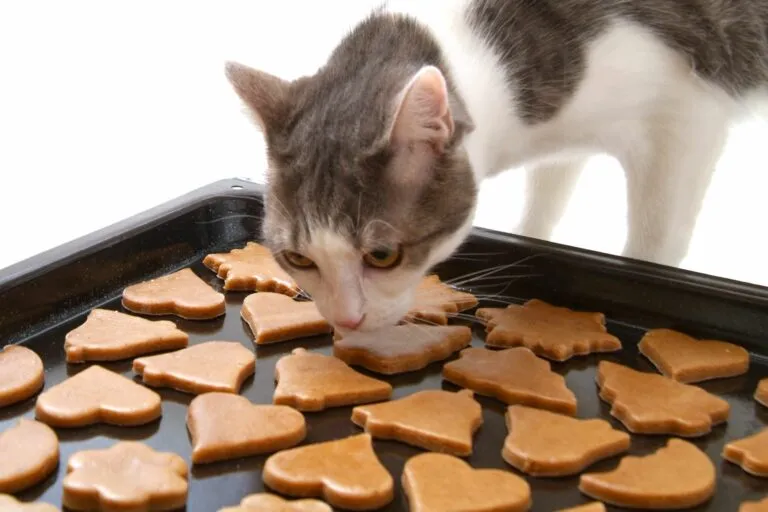
Baking cat biscuits is fun, you know what's inside and you can adjust the recipe to make sure your cat enjoys them. We will give you three delicious recipes for DIY cat biscuits.

© anoli / stock.adobe.com
Baking cat biscuits together is great fun and joyful for you and your cat.
A lot of people find baking their own cakes or biscuits really fun. What’s better than treating friends or family members to a delicious cake? So why not bake tasty cat biscuits for your feline friend too? But how do we actually make cat biscuits?
Note: You should use lactose-free products with recipes containing dairy products like butter, cheese or yoghurt. Cats don’t tolerate lactose.
In principle, there are hardly any differences between baking for cats and baking for humans. You stir the ingredients together using a mixer, form biscuits then bake them in the oven.
However, homemade treats for cats are savoury rather than sweet. Instead of sugar or nuts, they contain what cats find tasty and can digest – for instance, cheese, fish or meat.
 © erik pettersson/EyeEm / stock.adobe.com
If you bake your own cat biscuits, you always know exactly what is in them. This is particular beneficial if your cat suffers from allergies. Homemade biscuits are relatively healthy because they don’t contain any chemical additives.
Cat biscuits also make a wonderful souvenir or Christmas gift for cat lovers you are friends with.
If you want to get started right away and treat your cat to some homemade treats, you can find three simple recipes here:
You don’t need any exotic ingredients or special spices that your cat wouldn’t tolerate anyway for DIY cat biscuits. The ingredients for homemade cat biscuits – such as eggs, tuna or cheese – can be found in any supermarket.
Preheat the oven to 180ºC.
Whisk the Parmesan, egg and butter or lard with the mixer into a consistent mass. Afterwards, slowly add the potato starch and keep mixing until the dough has a nice equal consistency.
Make long, thin rolls from the finished dough, roughly as thick as a little finger. Cut the rolls into pieces of the same size with a knife.
Spread the raw dough biscuits across a baking tray lined with baking paper. Make sure there is sufficient distance between the individual biscuits, because they increase to roughly double the size due to the egg.
Bake the cat biscuits with cheese for around ten to 15 minutes in the oven.
Preheat the oven to 180ºC.
Whisk the tuna, egg and oil with the mixer. Then add the oatmeal and water and stir until it becomes a consistent dough.
Form small balls from the dough and place them on a baking sheet lined with baking paper.
Cat biscuits with tuna need around 12 to 15 minutes in the oven until they are ready.
Preheat the oven to 175ºC.
Cut the chicken into small pieces and cook it in water. When the meat is cooked, let it cool down slightly then blend it with a mixer or hand blender. Then add the egg, yoghurt and oil and mix everything with a fork. Afterwards, add the rice by the spoonful until a dough forms.
As an alternative to home-cooked chicken, you can also use a wet food with natural chicken meat, such as from Miamor.
With the help of two teaspoons, form little cams for the cat biscuits and put them on a baking sheet lined with baking paper. Flatten the biscuits slightly with a fork.
Bake the cat biscuits for around 20 minutes in the oven.
 © Lennart Worthmann / stock.adobe.com
You should leave all homemade cat biscuits to cool down properly after baking. Put them in an airtight container and store them in the fridge, where they last for around a week.
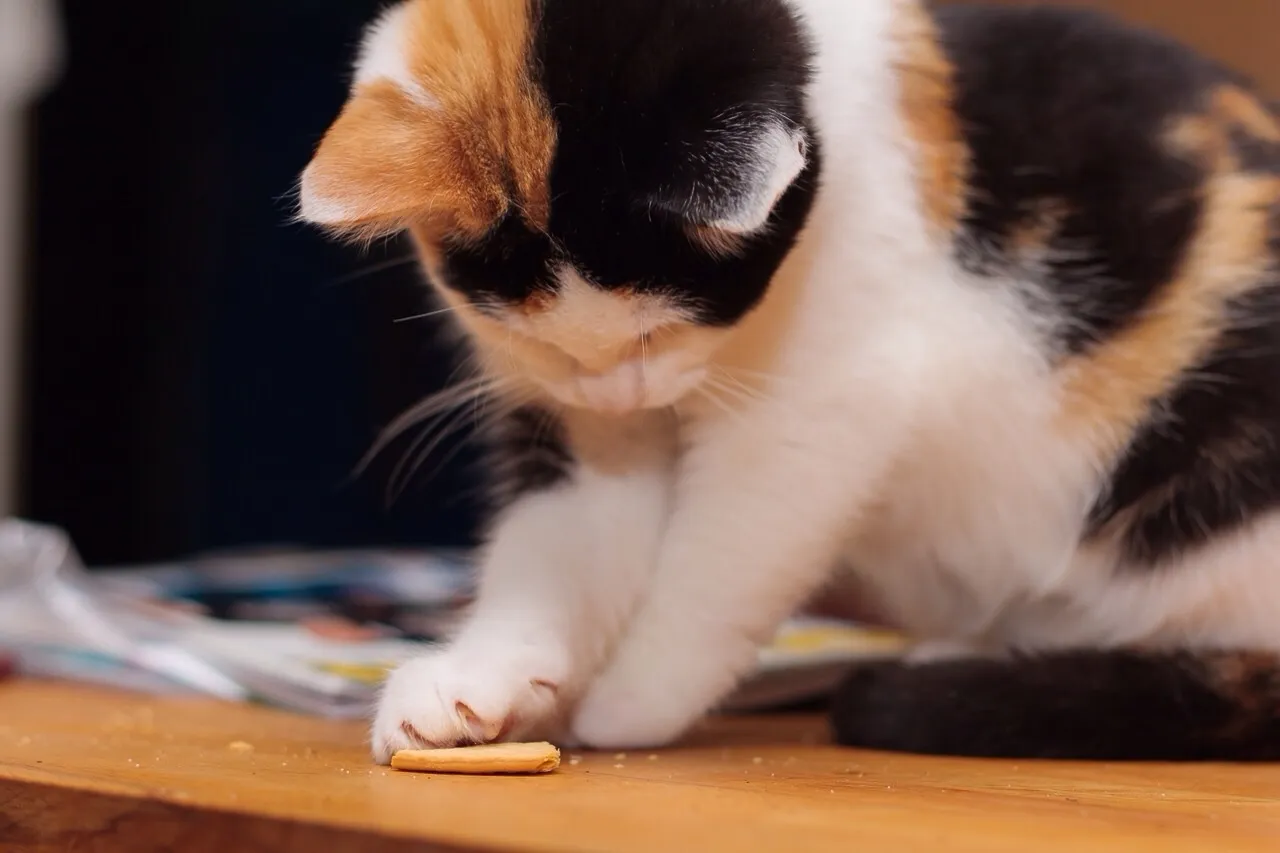
Although your cat would happily inhale your homemade biscuits by the tonne, they aren’t intended as a main meal. After all, your cat shouldn’t get too fat.
Only give homemade cat biscuits as an occasional snack, a treat or in an intelligence toy. By the way, you can find different intelligence toys in the zooplus online store.
Some cats always seem to be hungry. But how much food does a cat need per day? This article helps you to find out the right amount of food for your cat.
Summer is the peak season for refreshing ice cream, and cats enjoy it too when it's hot. Would you like to surprise your cat with some ice cream for a change? We will clarify whether ice cream is dangerous for cats and show you how to make your own healthy cat ice cream.